Deceptively simple, making perfect Bath Bombs by hand can provide some challenges when you are just starting out! However, they are the perfect product to begin crafting. You always start with a basic recipe and then add bits and bobs of luxury ingredients or fun stuff to finish off your fizzies.
The Starting Point – the Basic Recipe
The basic recipe is 2:1 ratio of Bicarb Soda (Bicarbonate of Soda or Baking Soda) to Citric Acid. This creates the fizzing reaction that we all love to see in the bath. After that you need to ensure the mixture is just moist enough to form a bath bomb that holds together when unmoulded, and doesn’t activate in the atmosphere before it hits the bath water.
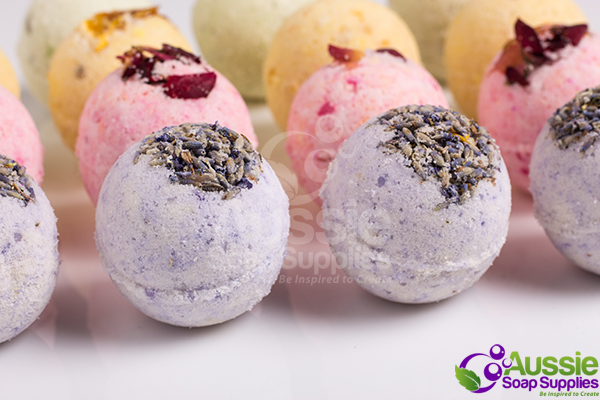
Additives used to customise Bath Bombs include Fragrance or Essential Oils for scent, some oil or luxury butter for moisturising skin benefits (but not too much!) and fun stuff too – colour, eco glitter, hidden toys, cake decorations, salts etc.
We always receive a lot of emails and phone calls about issues with bath bombs. I think of them like making a souffle – it will take a little practice to learn this new skill! Now, on to tips and troubleshooting.
Moisture!
This is the biggie – how do you know if it’s too dry, or too wet? When the bomb is unmoulded you go back to it and find it has developed pimples or bumps all over it, or it has cracked. Argh! All that effort. This is the learning phase.
Moisture to form the bath bomb: You are seeking a consistency of moist sand, not quite wet though! When the mixture holds together in your hand when squeezed really tightly, it is ready! You will often notice a temperature drop too when the mixture has sufficient moisture.
When I started out, I used tap water and learned my craft with that. I only made two batches with oil for moisture. Not only was the bath very slippery but my bombs sort of turned into mushroom-oid shapes instead of the hearts or spheres I moulded! Over the years, crafters have moved to Witch Hazel or pure Isopropyl Alcohol. These are used as they contain alcohol – this doesn’t activate the bombs like water does – so it might be inexperience or too much moisture that makes your bombs ‘grow’ and activate. Witch Hazel is the middle of the road, and what we now include in our Kits. Isopropyl does smell ughh, so switch up from water to Witch Hazel and see how you go.
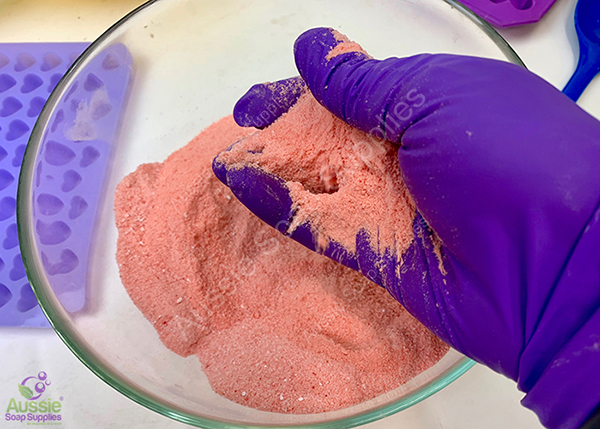
Dry sand stage – just after mixing through powdered colourant.
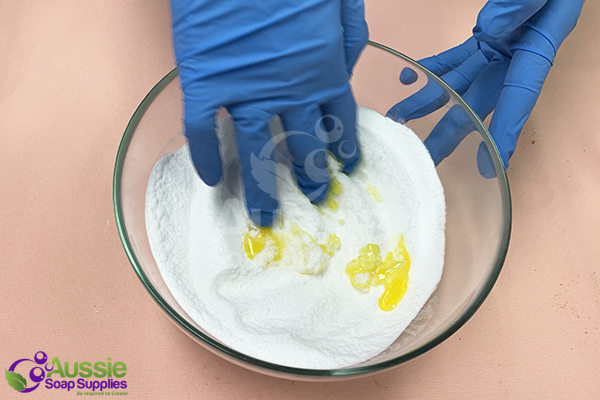
Moisture, is added, including Polysorbate 80, which helps colour rinse freely from the bath after this stage.
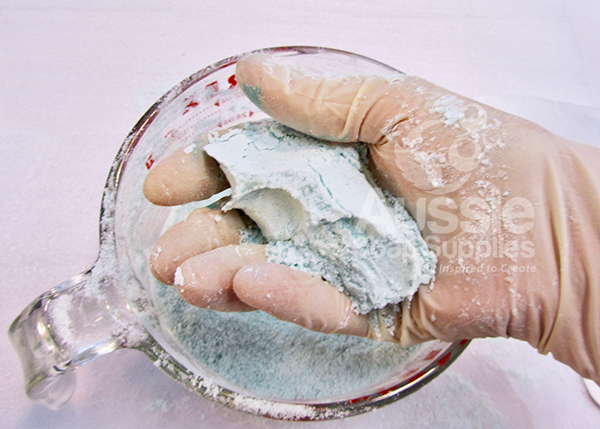
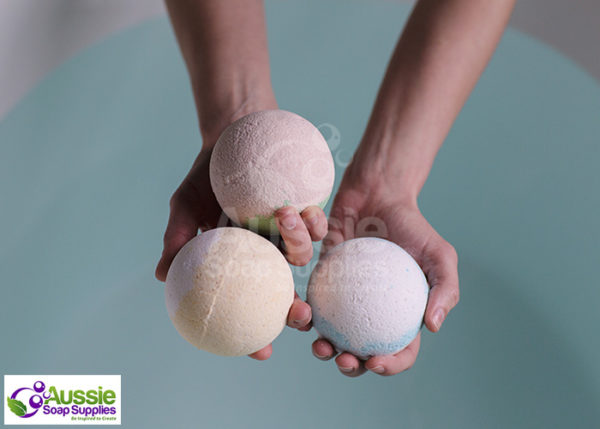
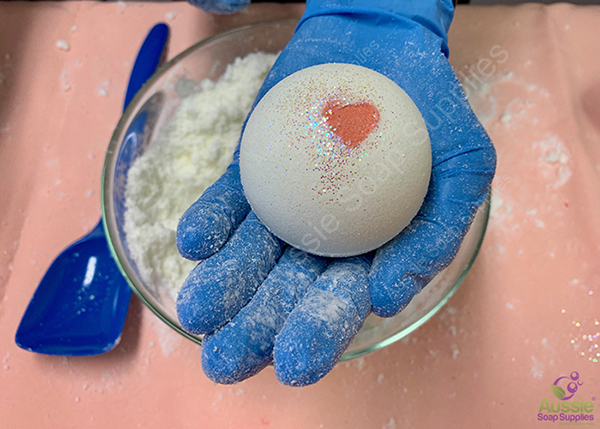
This is what you are looking for when ready to mould!
Humidity or atmospheric moisture is also an enemy of bath bombs – many crafters in locations such as Queensland don’t even bother to make Bath Bombs when the humidity is high. The moisture can activate the bombs like a very damp rainy winter day, or in humid weather conditions. This is why Bath Bombs need wrapping or storing in glass jars until use.
Cracks and crumbled Bombs – a little like house plants – it’s usually a case of too little or too much moisture. Experience will teach you when you have too much moisture AFTER the moulding. Too little moisture can often be seen BEFORE moulding. The mixture literally falls back to powder when you try to squeeze it or mould it.
Soft Bath Bombs – usually too much oil or Polysorbate 80. It’s easy to add too much oil thinking that this will be great for my skin. However, you’ll notice the bombs hold together, but they are kind of soft, and will usually leave a residue or oil slick in the bath tub.
Warts!
Though this can be moisture related, they are usually caused by Fragrance or Essential Oils or fixed oils, not being mixed into the batch thoroughly enough. A little more effort is worth the end result of beautifully smooth Bath Bombs.
A Lack of Fizz
Try increasing the proportion of Citric Acid in the mixture. Sometimes additives, especially too much oil, can decrease the amount of fizzing. Also the inclusion of starches such as Cornflour (corn starch) or Natrasorb can do this if the ratio is high.
Morphing and growing in the mould – before your very eyes! This is caused by too much moisture and the bath bomb has activated before it has even been unmoulded or seen the bathroom. Reduce the oil or moisture content in next batch.
Citric Acid
One other trick that is increasingly used to combat the activation of bath bombs, is to add the Citric Acid LAST. By doing this you have less contact with the liquid ingredients and therefore less chance of it activiting.

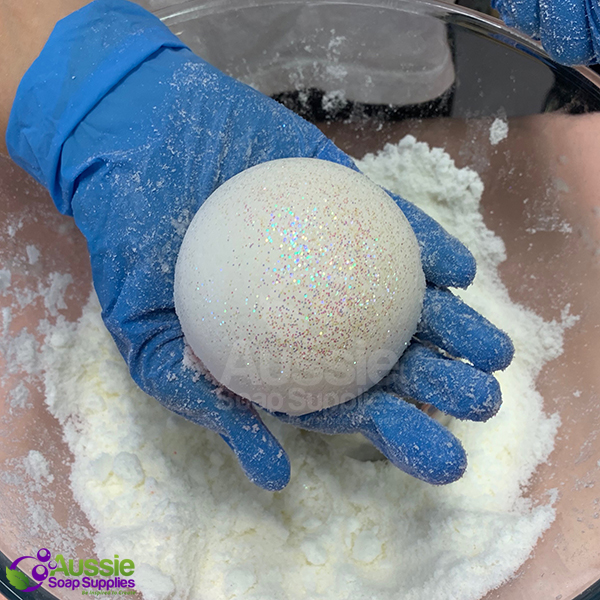
Unmoulding
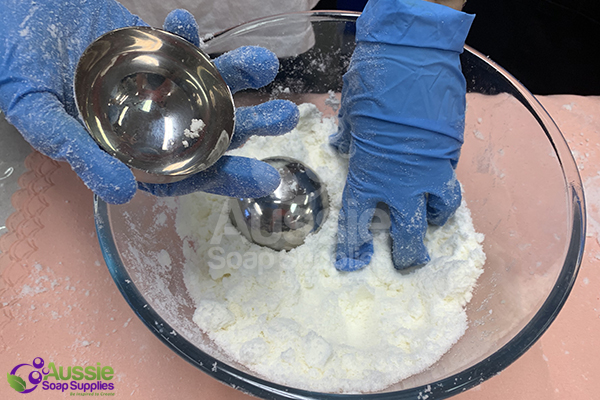
Stuck in the mould – assuming you are using a plastic, silicone or stainless steel mould this is usually because you have left it in the mould too long. We use our Stainless Steel moulds the most, but also the Bath Bomb Mould Packs are excellent as they are packed and airtight immediately. If using silicone moulds, leave a couple of minutes and carefully peel back the mould. If using Milky Way or HD Moulds, invert over the bench and then a firm tap is needed and the bombs pop out onto the bench.
You don’t need to ‘grease’ the moulds, but if you really feel the need, try spritzing or wiping a tiny smear of Cyclomethicone inside the mould for easier release. Remember ‘cyclo’ is very slippery on the floor or bath surface.

SUPPLIES:
Bicarbonate of Soda, Citric Acid, Natrasorb Bath & Other Ingredients
Witch Hazel
Spritz (Atomiser) Bottles
Bath Bomb Moulds and packaging
Bath Bomb Colourants
Artisan Fragrances
Pure Essential Oils


