
Hi Soap lovers, Super Soaper Sally (SSS) here,
Now that you have all read the latest news report with the disturbing news on how our mould friends have been treated unfairly, it’s about time we get clued up on how we can care for our moulds the best way possible so they work at their best level and have a long and useful life.
Facts are facts: Soaper’s don’t get very far without the help of a mould of some sort so its all the more important that we give them the TLC they deserve. Here are some handy Dos and Don’ts when it comes to mould care.
Silicone Moulds
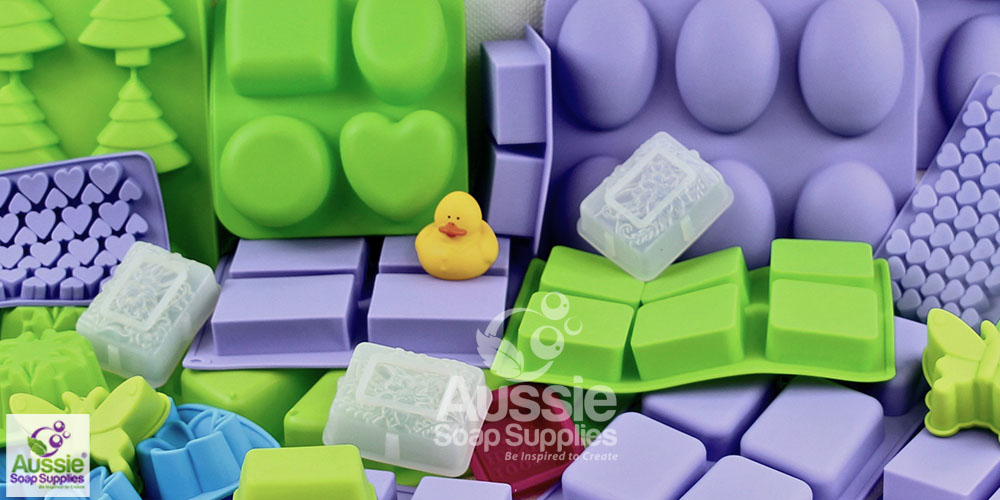
The humble yet versatile silicone mould. Great for both Cold Processed and Melt & Pour soaping we love them so much (and from your feedback so do you!) We now have an ever-growing collection! Durable yet flexible, silicone moulds are a breeze to unmould keeping your soap intact. The smooth finish to the inside of these moulds means that there is no need to line before pouring. Another handy tip is to place silicone moulds with multiple cavities on to a baking tray or board before pouring so that it provides a rigid base and can be transported easily.
Moulds come in many different shapes, forms and materials. Check out our Recipe Formulary for more tips and tricks on how to specifically care for and use your 3D, Premium, Heavy Duty and Milky Way moulds.
Cleaning Moulds
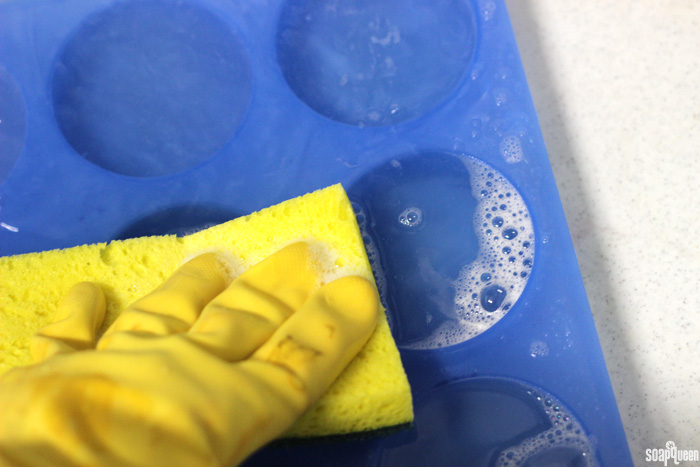
Caring and cleaning of silicone moulds is a breeze so there really is no excuse! Once your soapy creations are removed, a sponge with soapy water should remove any leftover residue. However sometimes soda ash can transfer to the mould. This is normal and doesn’t affect the performance of the mould in any way but getting rid of it before the next pour is ideal and easy enough. Firstly, fill the mould with water (enough to cover any areas where the soap ash is) then carefully transfer the mould into the microwave and heat until the water begins to steam (1-2 mins). Carefully remove and discard the hot water. It’s that easy! Note: if your mould is larger than the microwave allows, then just use a kettle and hot water. I would probably suggest it is best to skip putting them into the dishwasher too just in case its gets a bit too hot for them as warping can occur. Warm soapy water should do the trick.
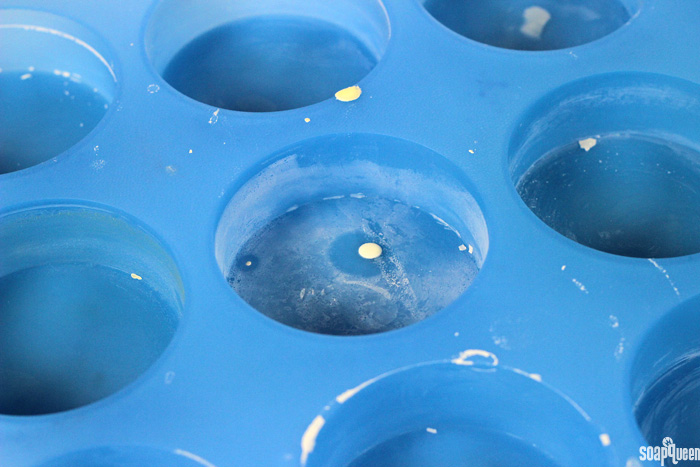
Soda ash on silicone mould
Now, sometimes depending on how strong the scent of your soapy creation is, it might linger on the mould after having cleaned with soapy water. Don’t fear! Through our experience, it generally doesn’t transfer between uses. If you want to be extra sure, it doesn’t hurt to spray some rubbing alcohol after washing the mould to neutralise odours. Let the alcohol sit on the mould for 15-20 mins then rewash with soapy water. Same goes for colour. If using a dye then chances are it can stain the mould but rest assured it shouldn’t transfer to the next batch of soap.
Unmoulding
Keep the sharp knives away! It can be tempting but it’s just not worth it as you risk slicing through your poor mould in the unmoulding process! If you need to break the air lock, try a blunt butter knife or spatula instead, which should help it to peel back easily. No need to use anything harsh like steel wool or abrasive sponges. Wouldn’t want to compromise that smooth glossy surface now would we?!

Those of you familiar with Cold Processed soap will know it takes a lot longer for soap to set up, saponify and become firm enough to unmould without damaging the mould let alone the soap itself. To speed up this process you can pop the mould with the setting soap into the freezer. Just make sure you let the frozen soap sit for a few minutes to come to room temperature to avoid cracking or snapping the mould when unmoulding.
Taking care of moulds of all varieties couldn’t be easier. Now that you are all clued up, lets make a promise to take regular care of our mould friends so they live a happy and healthy life!
Peace out and happy soaping!
From